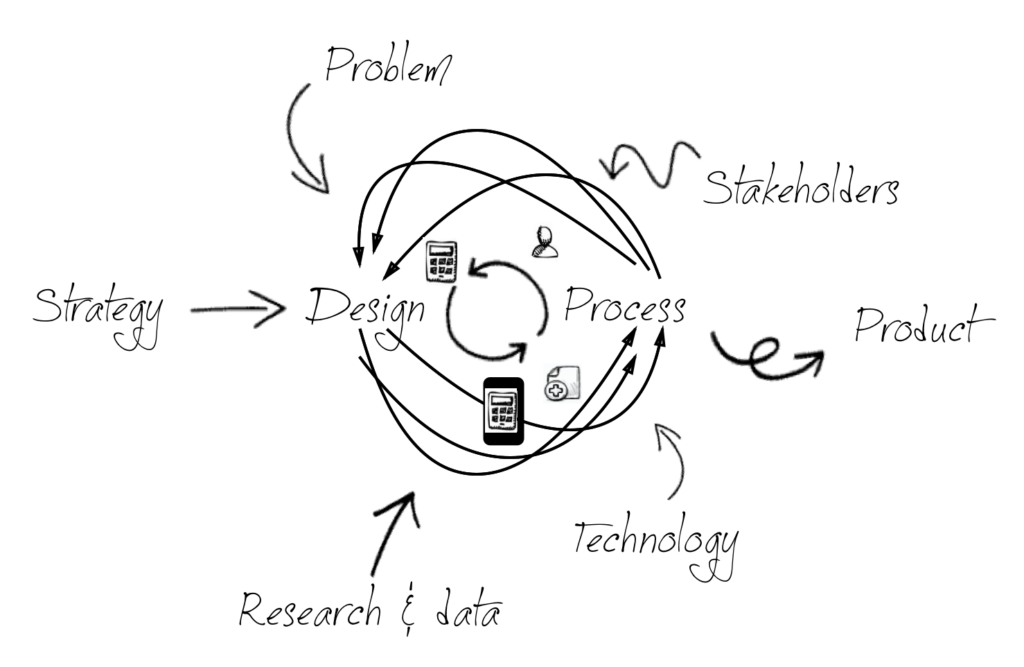
In the previous post, I briefly talked about a UX design process. Keep in mind that not every design project will use the exact same process. I like to think of a UX design process as a guideline, not as being set in stone. Different organizations usually have their own favorite UX design process. My personal favorite is “Google Design Sprint.“
UX Design Process focuses on solving a user problem
In the past 5 years, Google has helped me grow tremendously both in person and as a designer. In 2013, I joined Google as a Sr. Interactive Designer to lead a small design team. Later in 2016, I transitioned to take on a new role as a UX Product Technology Manager. Both roles had taught me that “there is no one-size-fits-all solution in design.” Every problem has its own agenda but they all normally share the same design principal… to “focus on solving a user problem.“
What is Design Sprint?
According to designsprintkit.withgoogle.com…
A design sprint is a five-phase framework that helps answer critical business questions through rapid prototyping and user testing. Sprints let your team reach clearly defined goals and deliverables and gain key learnings, quickly. The process helps spark innovation, encourage user-centered thinking, align your team under a shared vision, and get you to product launch faster.
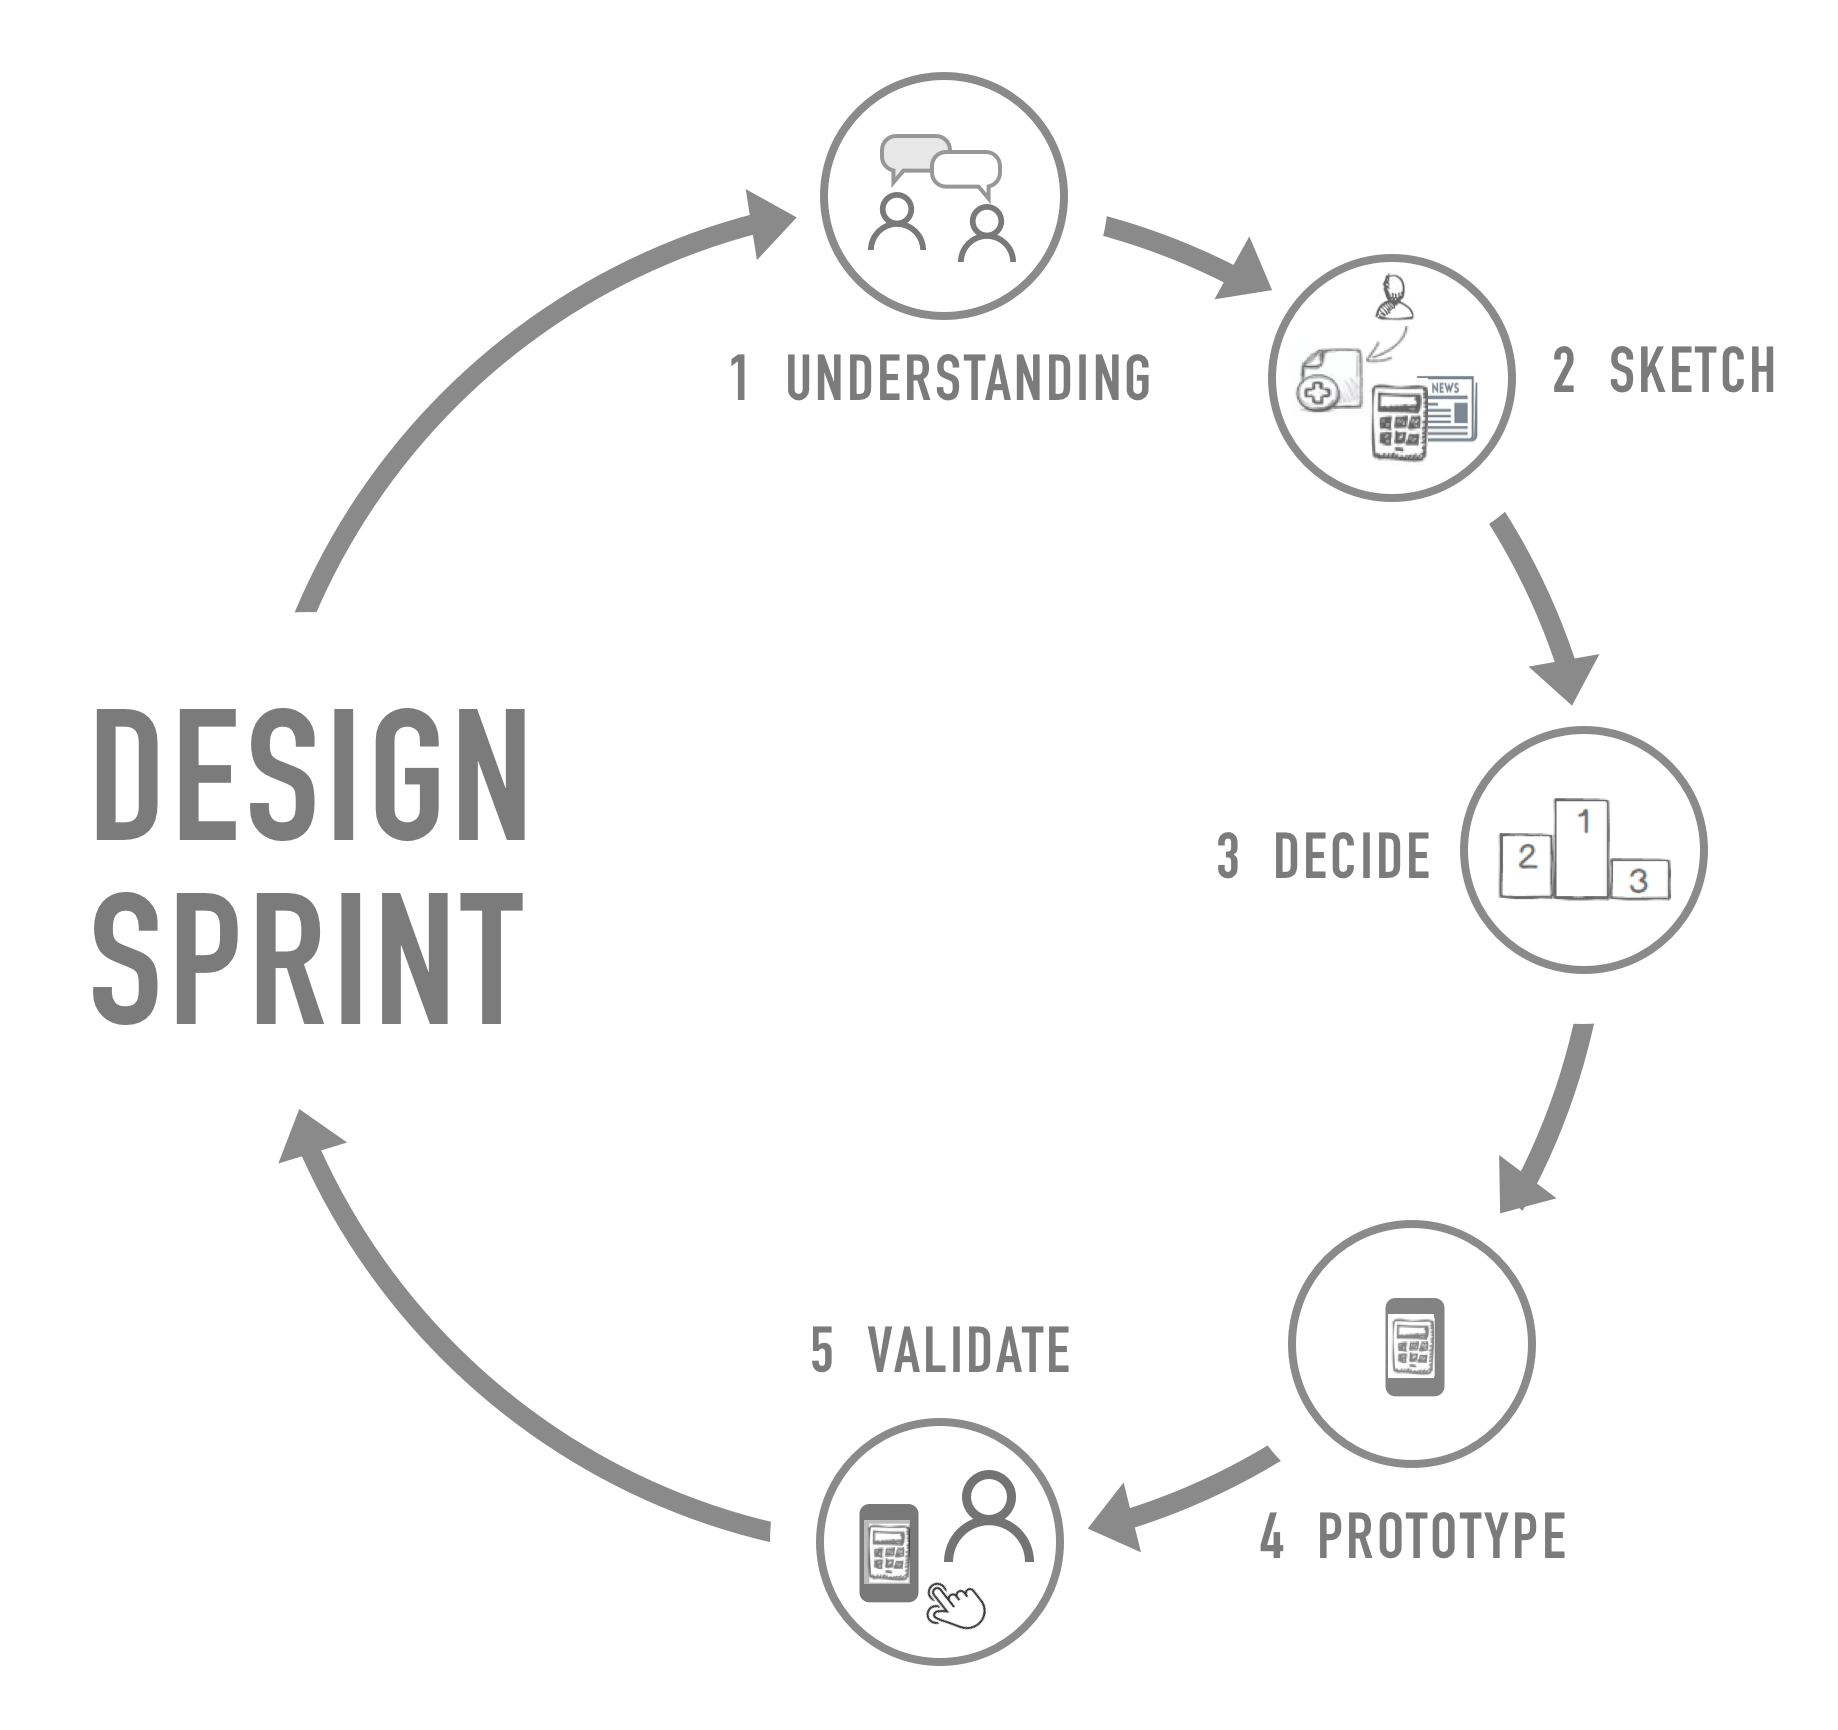
A design sprint divided into five suggested steps; Understanding, Sketch, Decide, Prototype, and Validate. Keep in mind that not all steps would necessarily be used at the same time. It will depend on what design problem you are facing. The timeframe to complete a Design Sprint varies from project to project. The general time frame is five working days, essentially one step per day. However, I’ve seen a Design Sprint completed within one or two days. The goal is to pinpoint things that need to be focused on. This is to help get things moving forward quickly without launching an actual product.
The Five Steps
1. Understanding
I personally call it, a gathering stage. This is a time that everyone gathers together. Everyone gives their input from a different angle. The goal is to help each other map out the problems and share the ideas.
2. Sketch
No sketch is a bad sketch. This is probably my favorite step. Everyone draws something in the given time frame. Later, this general range of ideas will be narrowed down and put into a select category.
3. Decide
It’s a lockdown time! The team will choose which idea to be prototyped. What I like to do is to narrow the ideas down to the three best ideas then pick the best one to be prototyped.
4. Prototype
In this step, we will build a prototype that only matters from what we selected in step #4. The prototype should only be to validate the idea and should be built within the short period of time. This means don’t focus too much time on details, but rather focusing on the steps to get a user from point A to point B.
5. Validate
A fancy word for testing. This is a moment of truth step! We put the prototype in front of users. We observe the users’ reactions, collect feedback and then make an adjustment based on their inputs. If the idea fails, then start over again.
Why should you use a Design Sprint?
Here are a few benefits of using a Design Sprint as a part of your UX design process.
- Can be used at any time.
- Helps bring everyone together.
- Excellent way to validate the best idea.
- Gets a real-time feedback without launching a real product.
- Fails fast so you can recover quickly.
- Solves design problems in a short amount of time.
- and many more…
To learn more about design sprint, visit designsprintkit.withgoogle.com. I hope that you will give it a try on your next design project. If you are new to UX Design, please visit my previous post, UX Design – Why does it matter?
Happy designing, 🙂


